How to Crop a Screenshot (Every Device)
Screenshots often grab more than you want: menus, tabs and private details. Here's how to crop them on every device, and how to capture just the part you need.
The Fastest Way on Any Device
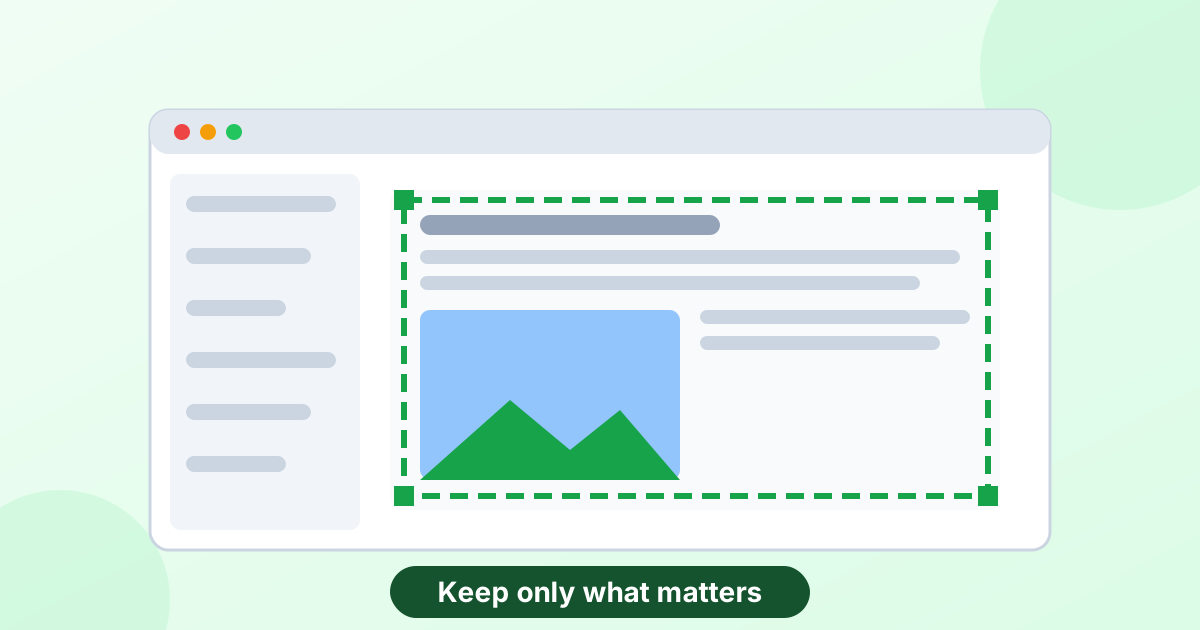
Open our free crop image tool, add your screenshot, drag the box around the part you need, and click Crop & Download. It works in any browser on Mac, Windows, iPhone, Android and Chromebook, and your screenshot is never uploaded.
Prefer built-in tools? Here's how to do it on each system.
How to Crop a Screenshot on a Mac
Option 1: Capture only the area you need
Press Command + Shift + 4. Your cursor turns into a crosshair. Drag over the area you want and let go. The screenshot only includes that part, so there's nothing to crop.
Option 2: Crop right after taking it
- Take a screenshot with Command + Shift + 3 (full screen) or Command + Shift + 4.
- Click the thumbnail that appears in the bottom-right corner.
- Click the Crop icon in the toolbar.
- Drag the handles and click Done.
Option 3: Crop in Preview
- Open the screenshot in Preview.
- Choose the Rectangular Selection tool and drag a box.
- Press Command + K (or Tools > Crop).
- Save with Command + S.
Can't crop in Preview?
The Crop option stays grayed out until you draw a selection. Click the selection tool in the markup toolbar first, then drag a box.
How to Crop a Screenshot on Windows
Option 1: Snipping Tool (Windows 10 and 11)
Press Windows + Shift + S. Choose Rectangle mode and drag over the area you want. The cropped screenshot goes to your clipboard and the Snipping Tool notification. Click the notification to edit and save it.
Option 2: Crop in the Photos app
- Open the screenshot in Photos.
- Click Edit image (or press Ctrl + E).
- Drag the corners to crop, then click Save as copy.
Option 3: Paint
Open the screenshot in Paint, click Select, drag a box, then click Crop. Save the file.
How to Crop a Screenshot on iPhone
- Take a screenshot (press Side button + Volume up).
- Tap the thumbnail in the bottom-left corner.
- Drag the blue corners to crop.
- Tap Done and choose Save to Photos.
Already saved it? Open the screenshot in Photos, tap Edit, then the Crop icon.
How to Crop a Screenshot on Android
- Take a screenshot (usually Power + Volume down).
- Tap Edit or the crop icon in the preview that pops up.
- Drag the edges and tap Save.
Or open it later in Google Photos, tap Edit > Crop, and save a copy.
How to Crop a Screenshot on a Chromebook
Press Ctrl + Shift + Show windows (the key with stacked rectangles). Choose Partial screenshot and drag over the area. It saves only that region.
Before You Share: Hide Private Details
Cropping removes the edges, but private details may still sit in the middle. Names, emails, phone numbers and order numbers often appear in screenshots. Hide them with our blur tool or pixelate tool.
Make Screenshots Smaller
Screenshots are PNG files, which can be large. If you're emailing or uploading many of them:
- Shrink them with our PNG compressor
- Resize them with the image resizer
- Combine several into one document with PNG to PDF
Frequently Asked Questions
How do I crop a screenshot?
Open it in a crop tool, drag the box around the part you want and save. Our online cropper works on any device.
How do I take a screenshot of only part of the screen?
On Mac press Command + Shift + 4. On Windows press Windows + Shift + S. On Chromebook use Ctrl + Shift + Show windows.
How do I crop a screenshot on a MacBook?
Click the thumbnail right after taking it and use the Crop tool, or open it in Preview, select an area and press Command + K.
Does cropping a screenshot reduce quality?
No. It only removes pixels from the edges. The remaining part stays exactly the same.
Why can't I crop in Preview?
You need to draw a selection first with the Rectangular Selection tool. Then Crop becomes available.